|
Imprimir RDP |
https://help.clouding.io/hc/en-us/articles/4405824160796-How-to-add-a-printer-using-the-Remote-Desktop-client-in-Windows
How to add a printer using the Remote Desktop client in Windows
In both Windows 2019 and Windows 2022 printers work by Group Policy (GPO), so in order to be able to print via RDP we will have to do some setup.
Steps to follow to set up the printer in RDP.
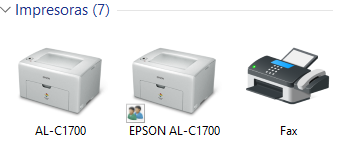
The first thing to do is to verify that the printer is correctly configured and the drivers are up to date on the local PC you are using.
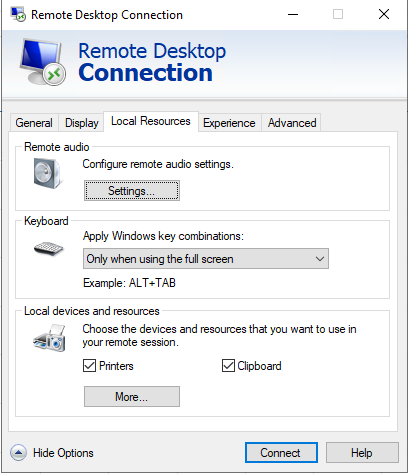
Before accessing the server, you'll have to activate the "printers" option in the Remote Desktop connection. This way, the server will detect the printer.
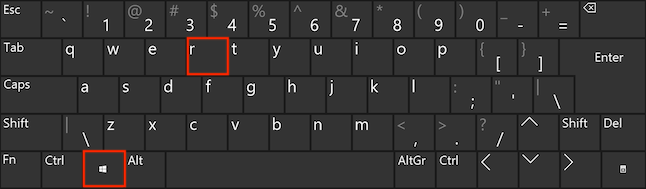
Once inside the server, you'll have to go to the application "run" or "execute". To access, you can use the combination of Windows + R keys.
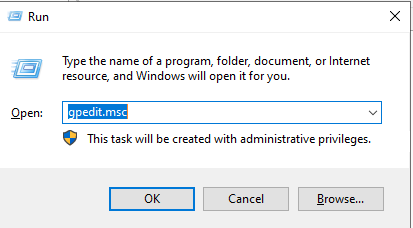
Once inside the application, you'll have to go to the group policies, so inside the text box, type gpedit.msc
Next, we can configure Easy Print using Group Policy to ensure that the Easy Print driver is used for users connected to the session host. Open the GPO in the editor and navigate to the following setting:
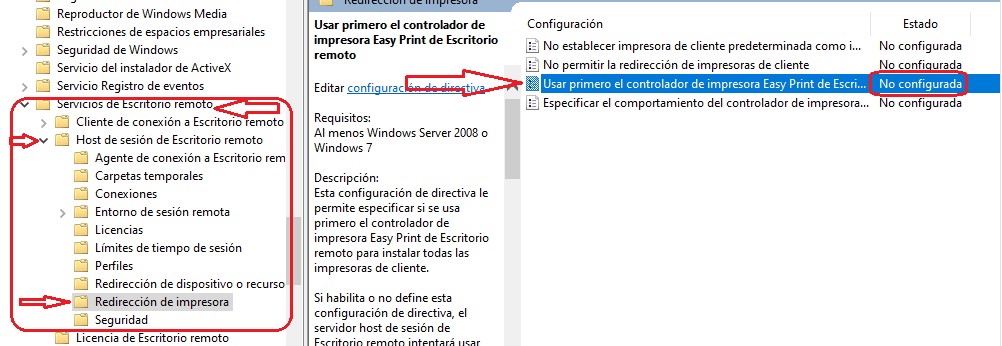
Computer Configuration > Administrative Templates > Windows Components > Remote Desktop Services > Remote Desktop Session Host > Printer Redirection.
Open the Use Remote Desktop Easy Print printer driver first setting, and set it to Enabled.
Once inside, you'll have to go to :
Configuración del equipo >> Plantillas administrativas >> Componentes de Windows >> Servicios de Escritorio Remoto >> Host de Sesión de Escritorio remoto >> Redireccion de Impresora
Abrir la directiva: Usar primero el controlador de impresora Easy Print de Escritorio remotom and set it to Enabled

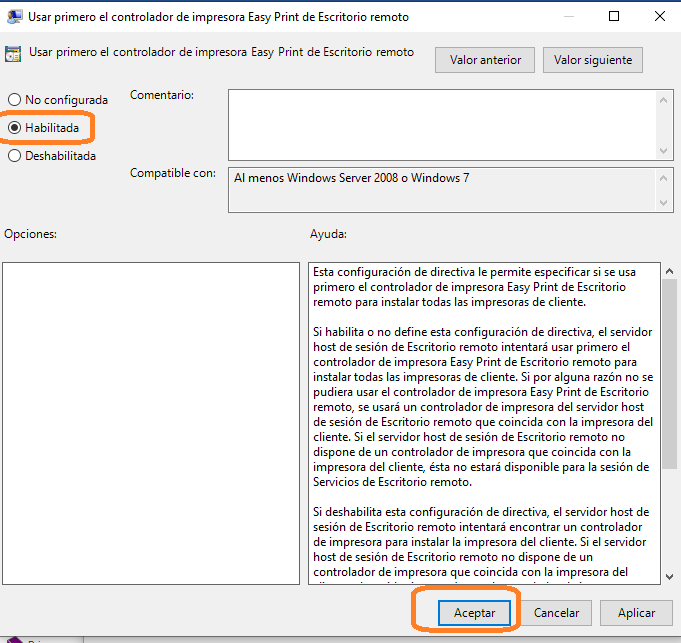
Once there, you'll have to modify the parameter "Use Remote Desktop Easy Print printer driver first" and enable it.
Doble clic a la directiva y luego la habilita
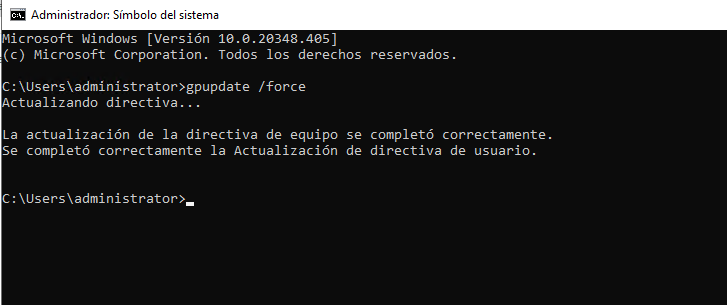
To apply the changes, open the Windows command console (cmd) and run the command:
gpupdate /force
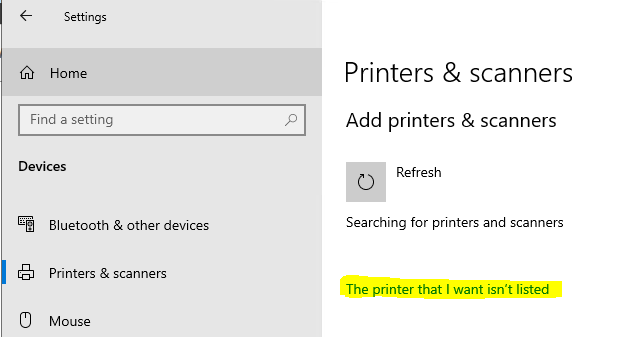
Now, you only have to configure the printer. You'll have to install the printer drivers also on the server and go to printers and scanners configuration, then click on the refresh button to display the option "The printer that I want isn't listed".
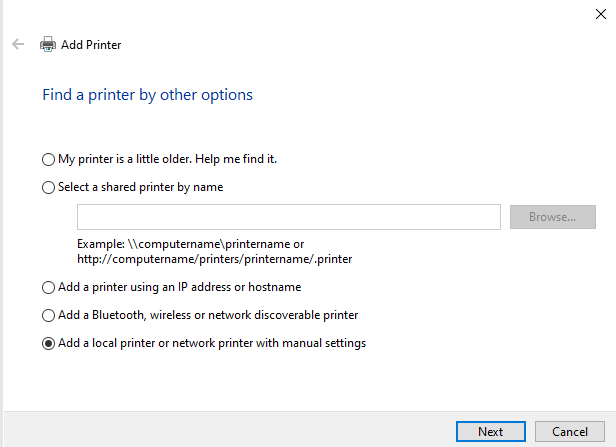
In this screen, you have to check the option Add a local or network printer with manual settings.
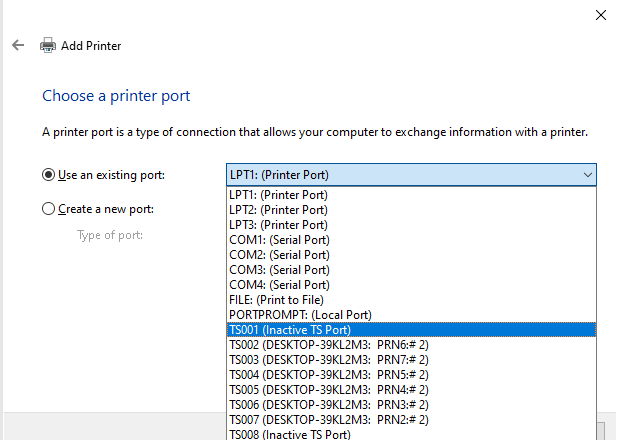
In this screen, it is important to use the printer starting with TS as in the screenshot, the other printers such as TS002 are unused ports.
In this screen, use the currently installed driver.

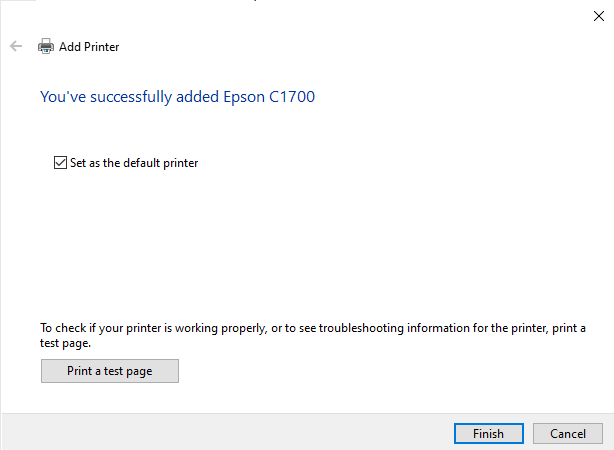
Once you choose the printer name, you'll have the printer fully installed.

Creado con el Personal Edition de HelpNDoc: ¿Qué es una herramienta de creación de documentación de ayuda?